Home
FALLOWED Land Registry
Step-by-Step Guide

How to Enroll Your Farming Unit

Guided enrollment for the Fallowed Land Registry — supporting the Paso Robles Area Groundwater Subbasin Multi-Benefit Irrigated Land Repurposing (MILR) Program.

Step 0: Start screenshot
1 Start

In this step

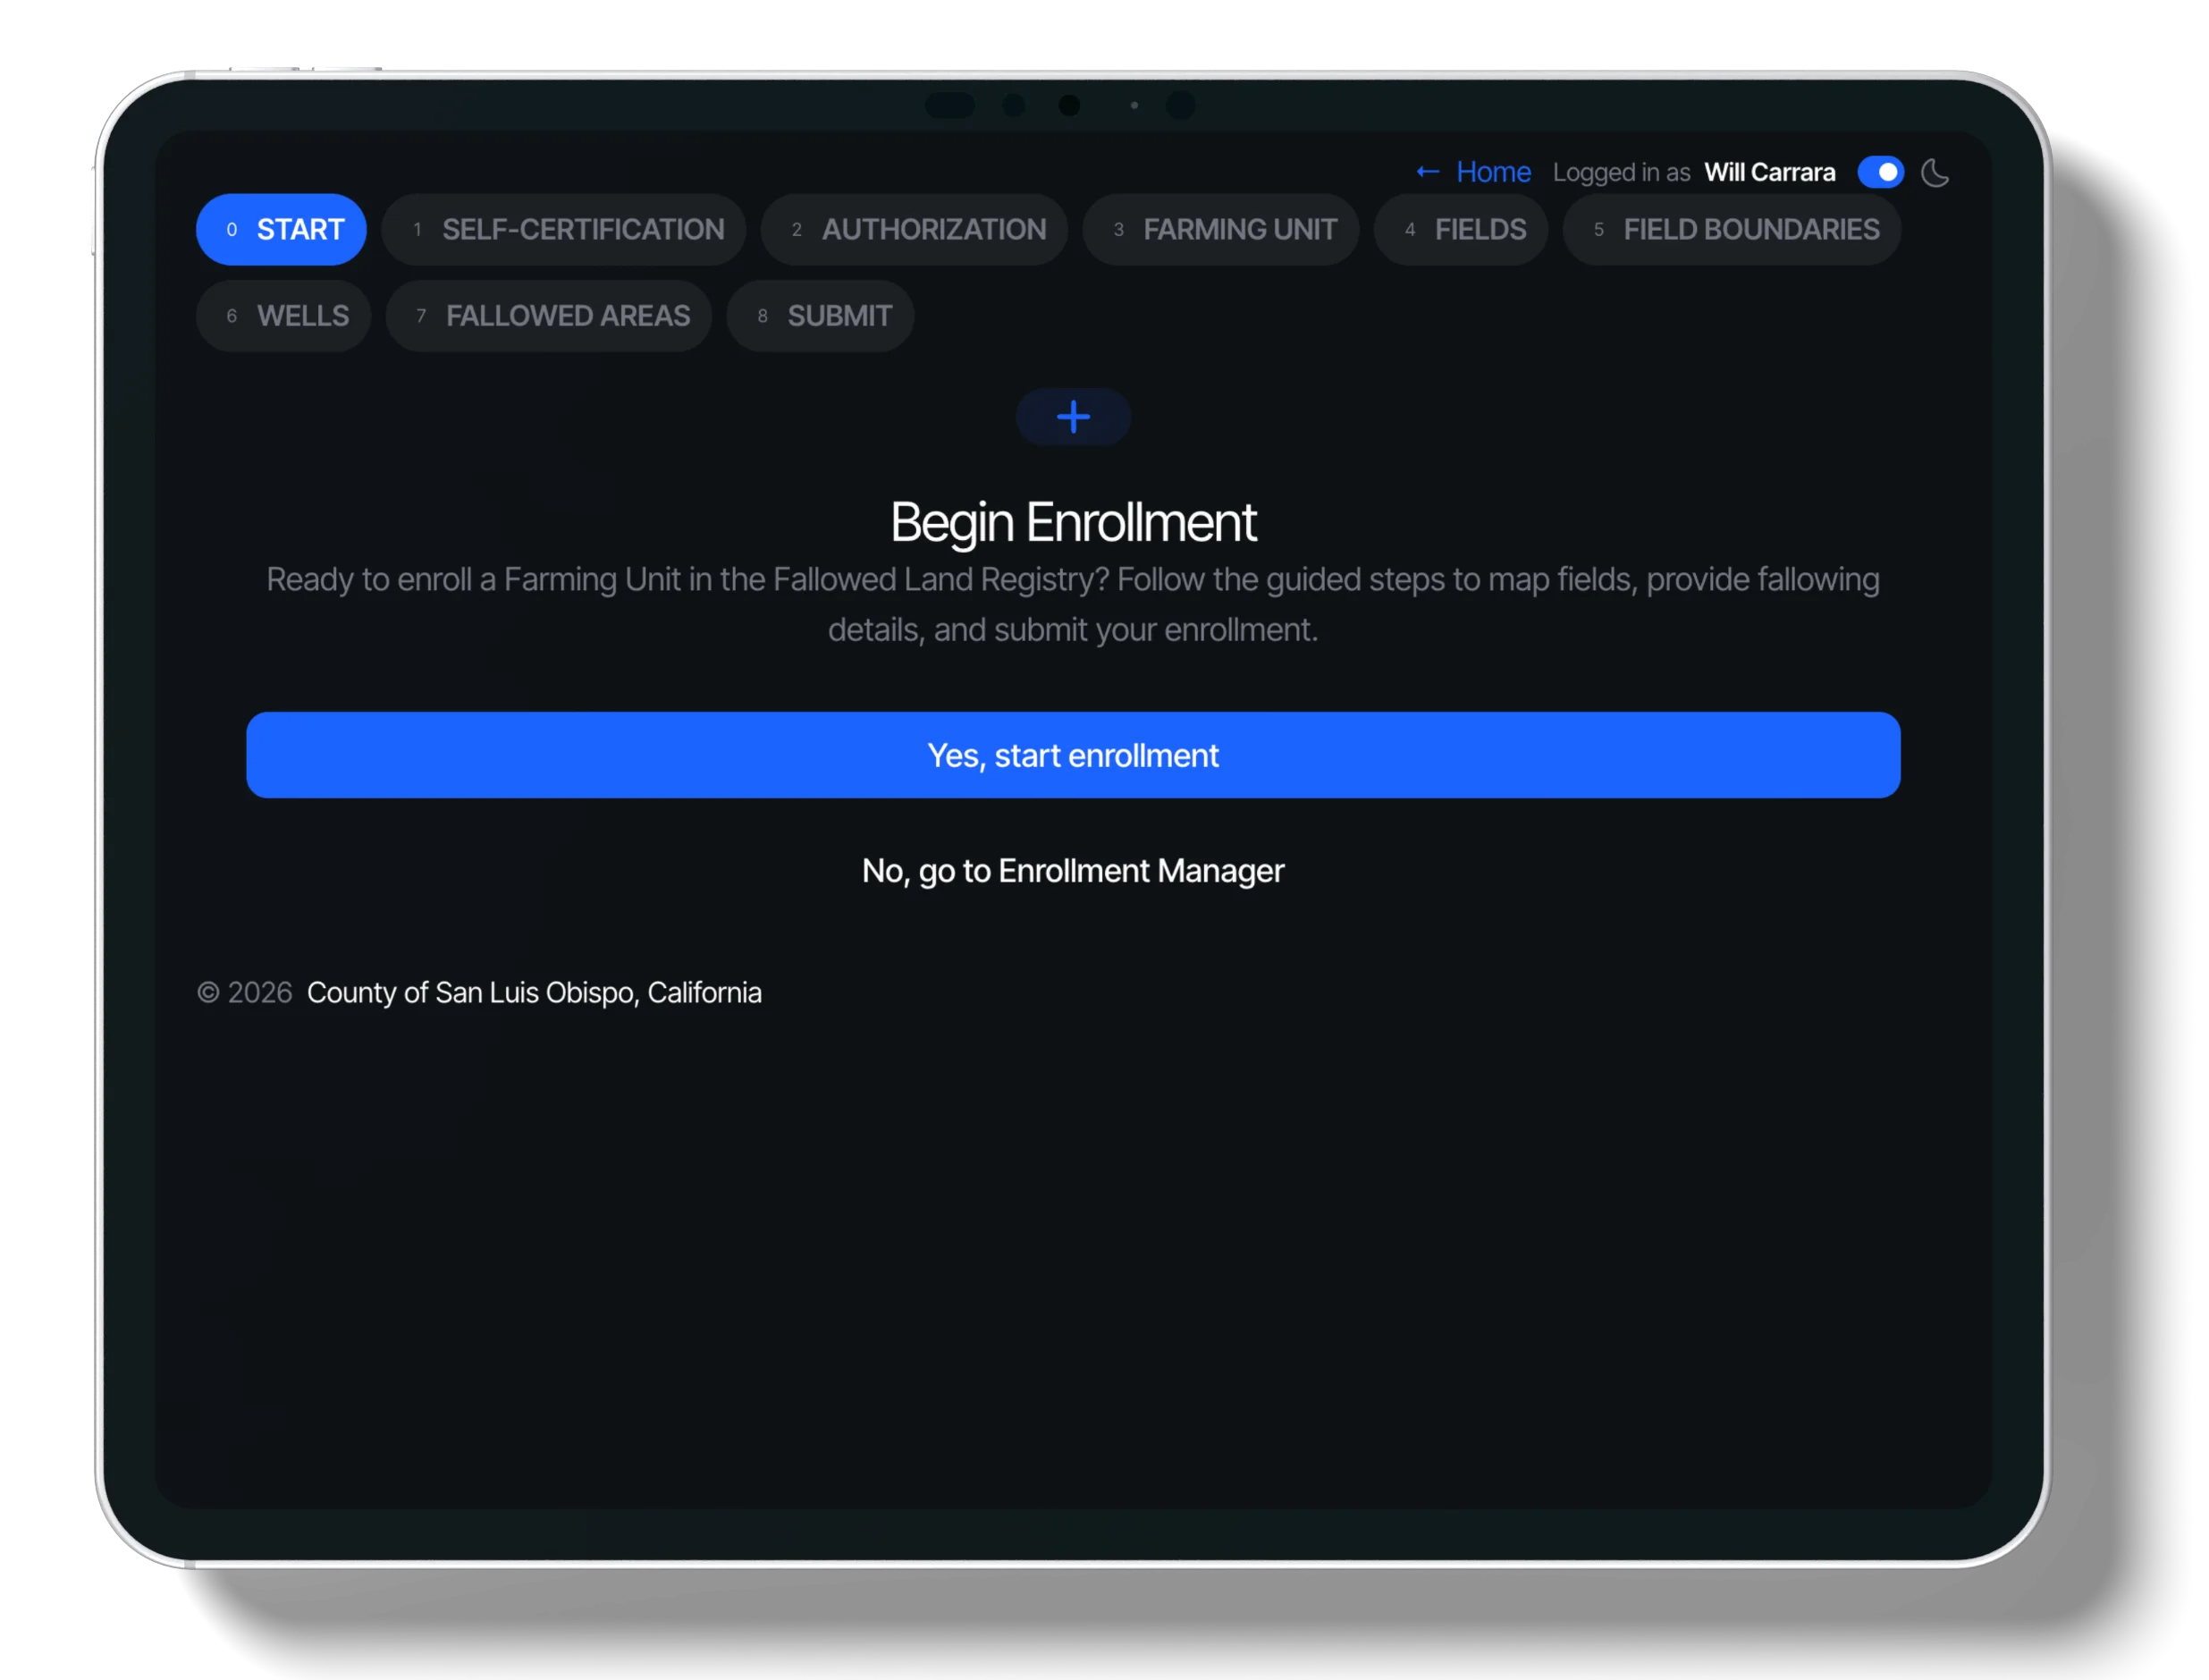
Choose whether to start a new enrollment or return to your dashboard. Your progress is saved automatically.

What to do

  • Click "Yes, start enrollment" to begin the process
  • Or click "No, go to dashboard" to exit and return later
Step 1: Self-Certification screenshot
2 Self-Certification

In this step

Confirm property owner permission and agree to the Registry terms to ensure data accuracy and program compliance.

What to do

  • Read the Self-Certification Statement carefully
  • Enter your full name and check "I Agree"

Tip: Once you save, your agreement can't be changed — double-check your entry.

Step 2: Authorization screenshot
3 Authorization

In this step

Add contact information for the farming unit manager to receive enrollment updates and confirmations.

What to do

  • Fill in Name, Phone, and Email (required)
  • Optionally add mailing address details
Step 3: Farming Unit screenshot
4 Farming Unit

In this step

Confirm or claim your farm boundary on the interactive map. You can request adjustments if needed.

What to do

  • Search for and select your unit on the map
  • Confirm the boundary or click "No, I need to edit"
Step 4: Field Selection screenshot
5 Field Selection

In this step

Pick which fields you want to include in your enrollment. Only selected fields will be available for fallowing.

What to do

  • Click fields on the map or use the list to select them
  • Add crop and irrigation details for each selected field
Step 5: Field Boundaries screenshot
6 Field Boundaries

In this step

Confirm crop types and request boundary updates if the map data needs correction.

What to do

  • Verify the crop type for each selected field
  • Use the map tools to suggest boundary overrides
Step 6: Irrigated Wells screenshot
7 Irrigated Wells

In this step

Mark the locations of your irrigated wells on the map to support water usage tracking.

What to do

  • Click the map to place well markers
  • Add names or notes for each well in the sidebar
Step 7: Fallowed Areas screenshot
8 Fallowed Areas + Screening

In this step

Draw the specific areas you're fallowing. We'll run a quick automated check to verify eligibility.

What to do

  • Select a field and draw the fallowed area shape
  • Add start dates and save to see screening results
Step 8: Submit screenshot
9 Submit

In this step

Review your entire application summary and submit for final processing.

What to do

  • Review all sections for accuracy
  • Click "Submit Enrollment" to complete the process

Ready to start your enrollment?

Start Enrollment Now